A huge collection of 3400+ free website templates, WP themes and more http://jartheme.com/ at the biggest community-driven free web design site.
Featured

Featured

Featured posts

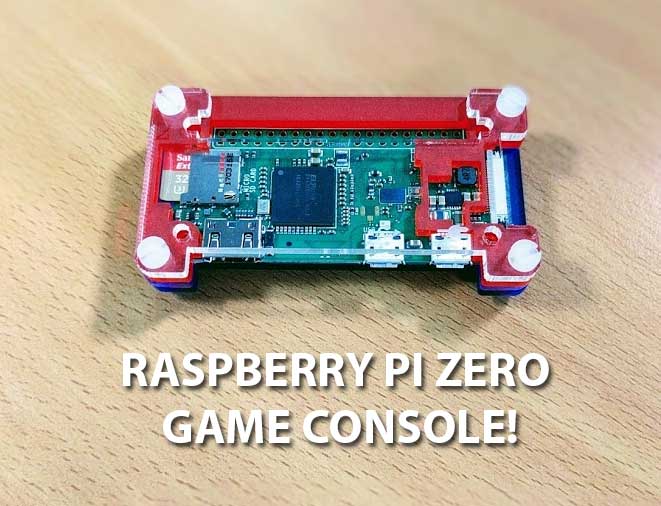
RASPBERRY PI ZERO GAMES CONSOLE

0

I have a Raspberry Pi Zero W, I’m a huge nerd. It was inevitable… I made a game console

Last November, Nintendo released the Nintendo Classic Mini, a mini console with 30 built in retro NES games. After playing one at Christmas I was impressed with the device. I searched high and low, but stock levels and popularity meant that these little things were going for double or triple the price on eBay. everywhere I looked it was sold out. I waited for a few months for one to become available and then Nintendo announced that they were going to discontinue them.

Image result for Nes miniUndeterred I decided I would build my own emulator and after looking around I decided the Raspberry PI Zero W would do the trick. The build was really easy, below are the steps I followed.


Raspberry Pi Zero W

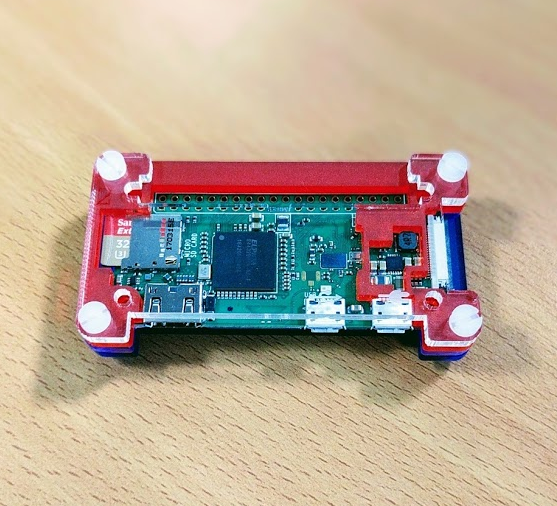
The Raspberry PI Zero W, was launched earlier this year and is an updated version of the standard Raspberry PI Zero. The updates are fairly innocuous but consist of some handy new features such as built in Wifi and Bluetooth 4.0. The PI Zero in it self is positively minuscule. I was surprised at how small when it arrived. Because I was starting from scratch I wanted to try and emulate more than just NES games.

Image result for mega drive

The Megadrive along with the SNES  were the consoles I remember most growing up. My sister and I spent way to much time playing Sega and Nintendo games when we were younger.
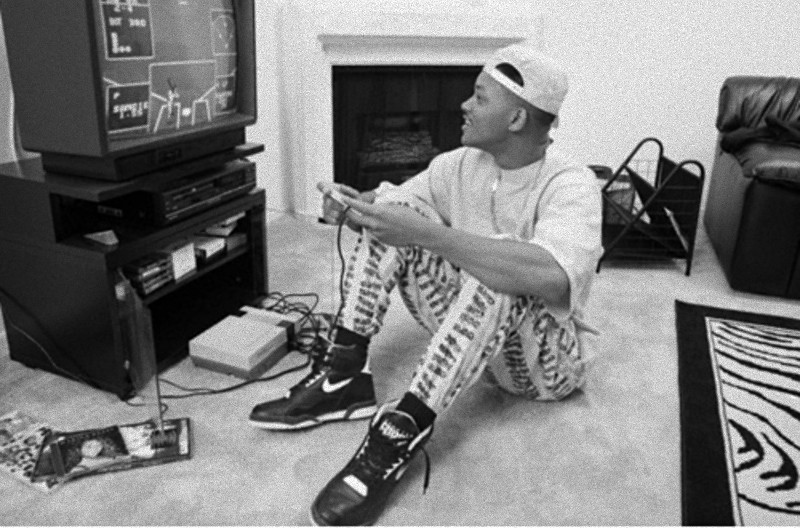
Image result for pi zero fresh prince

On to the build. 

To create a mini emulation console you are going to need a few things. The PI hut do a kit with some of these items or you can shop around

  • Raspberry PI Zero W (https://thepihut.com/products/raspberry-pi-zero-w )
  • Mini hdmi – HDMI converter
  • Micro usb to USB 2.0 converter
  • USB or Bluetooth controllers http://amzn.to/2rsN5ss
  • Micro SD Card (8gb or above) http://amzn.to/2qy0Ruw
  • 5V 2A PSU or Micro usb power cable (standard phone charger type)
  • A Case (selection here https://thepihut.com/collections/raspberry-pi-cases)

Next up the tech bit.

Download the SD image for your version of Raspberry Pi from the following page:

https://retropie.org.uk/download/

Extract

Once you have downloaded your SD card image you need to extract it using a program such as 7-Zip. You will extract the downloaded .gz file and the extracted file will be a .img file.

To extract from the command line, you can type the following into a Terminal window, placing X with version you downloaded:

gunzip retropie-4.X.X-rpi2_rpi3.img.gz

Install

To install the RetroPie SD image on your MicroSD card. (You may need a MicroSD card reader to plug it into your computer)

  1. For Windows you can use a program called Win32DiskImager
  2. For mac you can use Apple Pi Baker
  3. For Linux you can use dd command or Etcher

Note RetroPie is built on top of Raspbian (a linux based OS for the Raspberry Pi) and as such the partition on the SD card is EXT4 (a linux filesystem) which is not visible on windows systems, so the card will show up as a smaller size than usual and you wont be able to see everything on the card

Configure Controllers

On first boot your filesystem will be expanded automatically, you will then be welcomed with the following screen- this menu will configure your controls for both Emulationstation and RetroArch Emulators: If you wish to configure more than one controller, you can do so from the start menu

welcomescreen

Hotkeys

Hotkeys enable you to press a combination of buttons to access functions such as saving, loading, and exiting emulators

Roms

Roms can be found all over the interweb but I found that https://www.emuparadise.me comes highly recommended. Physically transferring the ROM’s could not be more straightforward. You can write directly to the ROMS folder on the SD card, but I have found after adding the PI to my wifi navigating to //RETROPIE and find the corresponding ROM folder and then drag and drop.

PLAY!

After you’ve added your roms you need to restart emulationstation in order for them to show up. You can restart emulationstation from the start menu, or by rebooting your pi with sudo reboot.

Image result for retro pie games


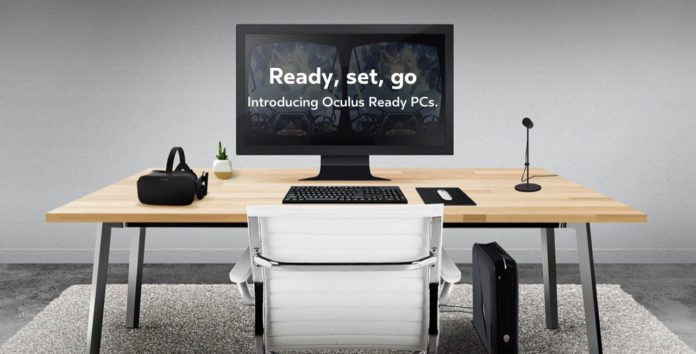
OCULUS READY PC UNDER £500

0

https://www.youtube.com/watch?v=dAZVkTNt4G4

NEXUS 5X REVIEW

https://www.youtube.com/watch?v=R1CbZSK-zMk

Oculus Rift vs HTC Vive vs Playstation VR

0

With three major virtual reality head mounted displays on offer I take a look at which one is the best all round in my opinion

vr_headset_shootout_0

I tried and tested the first Oculus dev kit and although I found it fun it didn’t seem ready for prime time. I skipped DK2 and eagerly awaited the final release of the Rift consumer version and after a few delays it seems that 2016 is finally the year of VR. By the end of the year, not one, not two, but three consumer headsets should be strapped firmly to heads around the world – taking their lucky owners out-of-this-world! The timing is uncanny, and obviously some people are going to be buying one, so we have ourselves a fight.

The contenders for virtual supremacy are the trailblazing Oculus Rift, the space-detecting HTC Vive, and the PS4-compatible PlayStation VR. The technical differences mean they all have their ups and downs but which is the one for you. I will cover of the main aspects below

Specs: 

Oculus-VR-Logo-Bar-592x

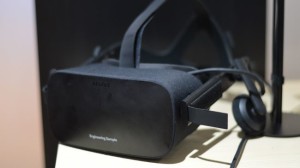
Oculus Rift_front-650-80

The display toates a 2160 x 1200 resolution, or 1080 x 1200 over two OLED displays for each eye. That works out to 233 million pixels per second with a refresh rate of 90Hz. Additionally, it has 360-degree positional head tracking and a 100-degree field of view

download

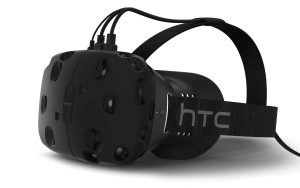
HTC-Vive_White

The HTC Vive features similar 2160 x 1200 resolution, or 1080 x 1200 over two OLED displays for each eye. It has a 90Hz refresh rate, over 70 sensors (e.g. an accelerometer, a gyroscope, etc.) for fluid and seamless movements, and will operate in a 15ft x 15ft tracking space if you have the supporting wireless cameras.


playstationvr_2-555x250

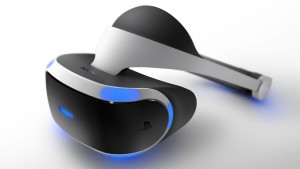
Playstation_VR_Renamed_01

the PlayStation VR will feature a 5.7in OLED display touting a resolution of 960×1080 per eye and 100 degree FOV. It has a 120Hz refresh rate with 18ms response,

Winner (Draw)

Oculus-VR-Logo-Bar-592xdownload

Gaming

Oculus Rift has a number of games being natively developed for it. So far, there are over 200 games, including titles like EVE: Valkyrie, Airmech VR, and more. Many developers are working to bring their games to the Rift and they have Facebook backing them.

The HTC Vive is being developed in conjunction with SteamVR, which is a big name to have in your back pocket. There are already over 171 games that claim to have VR support in the Steam store, and the list will only get bigger as we get closer to launch. SteamVR will give HTC Vive the platform it needs to succeed.

Playstation VR is going to launch in October this year with the support of 50 games. Sony claims that there are many more than this in development and will be able to rival some of the numbers mentioned above. Being the first to market in the console space and a handy install base of 35 million could give Sony the edge…

Winner (HTC Vive)

download

Price 

Oculus Rift is coming very soon. The first wave of orders will be shipping out on the 28th March, but anyone who hasn’t already pre-ordered one will now have to wait until July at the very earliest before they can get their hands on their very own headset. It’s not cheap, either, as it will cost you a whopping £499 (without shipping costs)

HTC Vive: Price. HTC has announced that its Vive VR headset will be priced at a whopping £689

Sony has always stated that PlayStation VR would be priced as “a new gaming platform” so it should come as no surprise to hear its virtual-reality headset will cost £350 on launch. To be clear you will also need to purchase the(£40) PlayStation Camera and the  (£27) apiece Move controllers. bringing the total up to around £420

Winner (Sony Playstation)

playstationvr_2-555x250

Overall conclusions

When it comes to virtual reality this really is the first wave. Buying now is going to get you bugy software and at a premium price point. The cost of a PC that is capable of running a Oculus Rift or a HTC Vive (note GTX 970 required) is around £600. The Playstation on the other hand can be had for around £270 coupled with the VR headset and mandatory peripherals you are still looking at £720 which is the lowest price point to get onto the VR bandwagon come September/October. I will personally be waiting until there is a killer app/title available.


ANDROID L WILL KEEP YOUR SECRETS

0

If you thought that the Android L operating system released on 15 October by Google is all about the new ‘Material Design’ user-interface, think again. The number of security features available in Android L is pretty extensive.

So if you are planning to use the Android L OS (after receiving Google’s latest OS upgrade via the over-the-air mechanism) then you will benefit from having a smartphone/tablet that can not only do more but is also now much more secure thanks to the ‘kill switch’.
Kill switch works a little bit like a factory reset, and ensures that your phone does not get reset, without keying-in a password.

Together the factory reset protector and remote lock features form a kill switch combination, and add extra levels of security to your devices running Android L ‘Lollipop’.

Just imagine you have lost your precious Android smartphone and the thief has your expensive device in his hands. The thief resets your phone, before you could remotely find your device and lock it.

In such a scenario, Android’s remote find/wipe/lock features become worthless, as the thief has already factory reset your device.

This is where the latest kill switch combination comes into picture, and once this is enabled (optional for now) within your device, you get multi-layer protection.

Full list of security features here 

CONSOLES TO GET 4K?

0

With the increasing push of 4K TVs and more native 4K content sources appearing week by week, the PS4 and Xbox One are starting to look more and more uncomfortable as they via for top spot as the number one box in your living room.

Netflix were the ones that started the rumour at last year’s Consumer Electronics Show iwhen, according to The Huffington Post, Netflix’s Chief Product Officer Neil Hunt suggested during a press conference about Netflix’s support for High Dynamic Range technology that Sony had ‘promised’ a PS4 hardware revision that would give the console 4K video capabilities.

Then during his Xbox Spring Showcase event keynote last week, Microsoft’s head of Xbox Phil Spencer talked about future of “hardware innovation” for the console, similar to the ways PCs evolve.

In a speech to reporters, he said that the Xbox One could see a future in which it is upgraded, rather than replaced by new consoles.

One last point to stress is that if the predictions of new 4K-capable consoles this year come true, the upgrade will almost certainly only affect video streaming; 4K gaming at the moment requires a high-end PC and would probably be to costly to bake into a console for a reasonable price. Sony or Microsoft have not confirmed or denied anything specific yet but I would expect to see a potential update that would allow at the very least 4k streaming with an upgraded chipset and HDMI ports


THE SCRAPYARD GAMING PC CHALLENGE

0

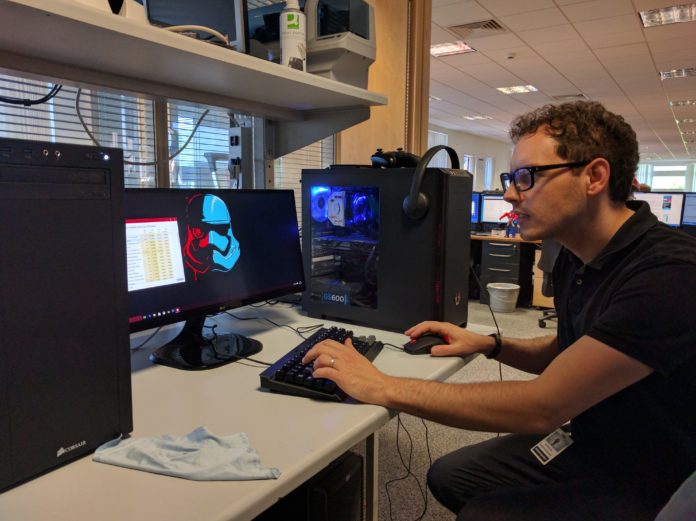
4 weeks ago, I challenged my friend Dave to build the fastest gaming PC possible, for £450. A decent gaming rig usually costs over £1000, so this would be a good test of our hardware and overclocking knowledge. Unable to turn down a challenge, I accepted, and we agreed a prize of £50 Steam credit – and the kudos of building the fastest PC.

THE RULES

  • £450 only applies to the PC case and contents (peripherals are excluded).
  • Hardware must be purchased. Use of existing spare hardware is prohibited.
  • Postage is not included. (I don’t remember agreeing to this, but Nick insists I did)
  • Benchmarking will occur on May 4th 2016, and will consist –
  • Each benchmarking tool will be run 3 times, and the best score used.
  • Failure to achieve a score, due to crashing, will result in disqualification.

GETTING STARTED

For the first week or so, every conversation I had with Dave was about hardware. We spent all of our free time researching CPUs, RAM, motherboards, cases, PSUs, trying to determine the cheapest combination to deliver the biggest bang for buck. I can remember one evening Dave was bidding wildly on an eBay auction, thinking, “I was probably the other guy bidding against him!”. In the following days, I read numerous articles about overclocking, and how to squeeze the most performance out of the new Skylake I5 6500 processors as I had heard that you could overclock the none K version to astonishing results and I went for the new motherboards that supported this new chip set and DDR4. Dave went for slightly older hardware. Eventually he settled on an i7 4th gen, socket 1150 motherboard, and DDR3 RAM.

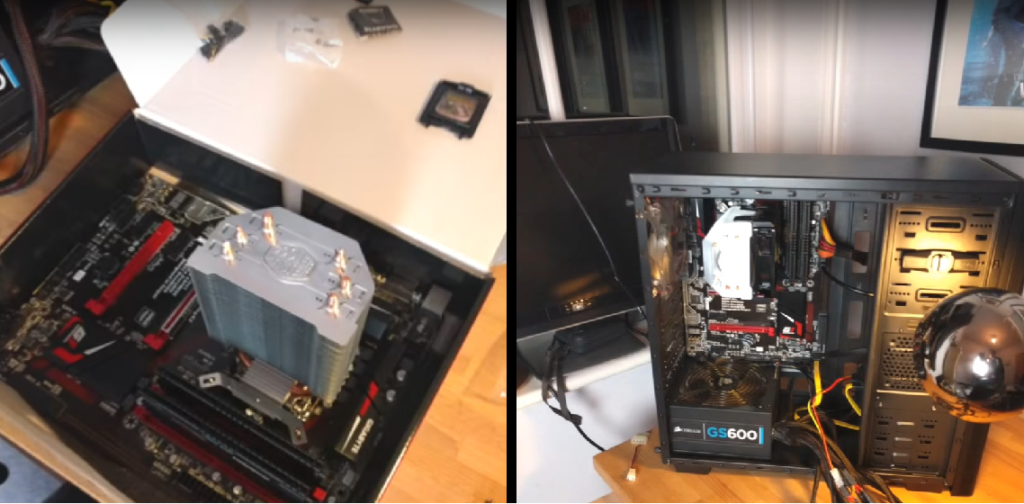
First to arrive was the ex-display Gigabyte Z170 Gaming K3, My new Intel i5 6500 came from Japan via playasia and Amazon messed up and sent me 16GB of Ram by mistake I had only ordered 8 🙂

During build
xxx

FINAL BUILD SPECIFICATIONS

Dave Nick
CPU Intel i7 4970K Intel i5 6500
GPU Asus Strix GTX 980 TI Gigabyte R9 290 Windforce OC
RAM Corsair Vengeance Pro 16GB DDR3 2400MHz Kingston Hyper X Predator DDR4 16GB
Motherboard Gigabyte GA-Z97-D3H Gigabyte Z170 Gaming K3
Disk Samsung EVO 850 SSD 250GB SanDisk SSD PLUS 120GB
Power supply Corsair CXM 600W Corsair GS600
Cooling Corsair Hydro Series H60 Cooler master 103
Case Corsair Carbide Series 200R Bitfenix Nova


BENCHMARK RESULTS

Dave Nick
Firestrike 1.1 Overall 15866 11069
Unigine Valley Score 4524 2835
UserBenchmark Multi core 703 561
UserBenchmark SSD Random 4k (MB/s) 66.1 34.6
UserBenchmark RAM Multi core (GB/s) 29.5 31.7
Cinebench CPU 915 Nick “lost” his scores
Cinebench GPU 143.11 N/A


WHO WON? Read Part 2


Exploring Scotland by drone

0

Exploring Scotland by drone. A collection of videos from my holiday in Scotland around Dumfries and Galloway. Footage captured using the Bebop 1 drone. Including Garlieston village, Cruggleton Castle, Mull of Galloway, Caerlaverock Castle. Captured using the Bebop 1 drone and edited in Adobe Premier Pro.